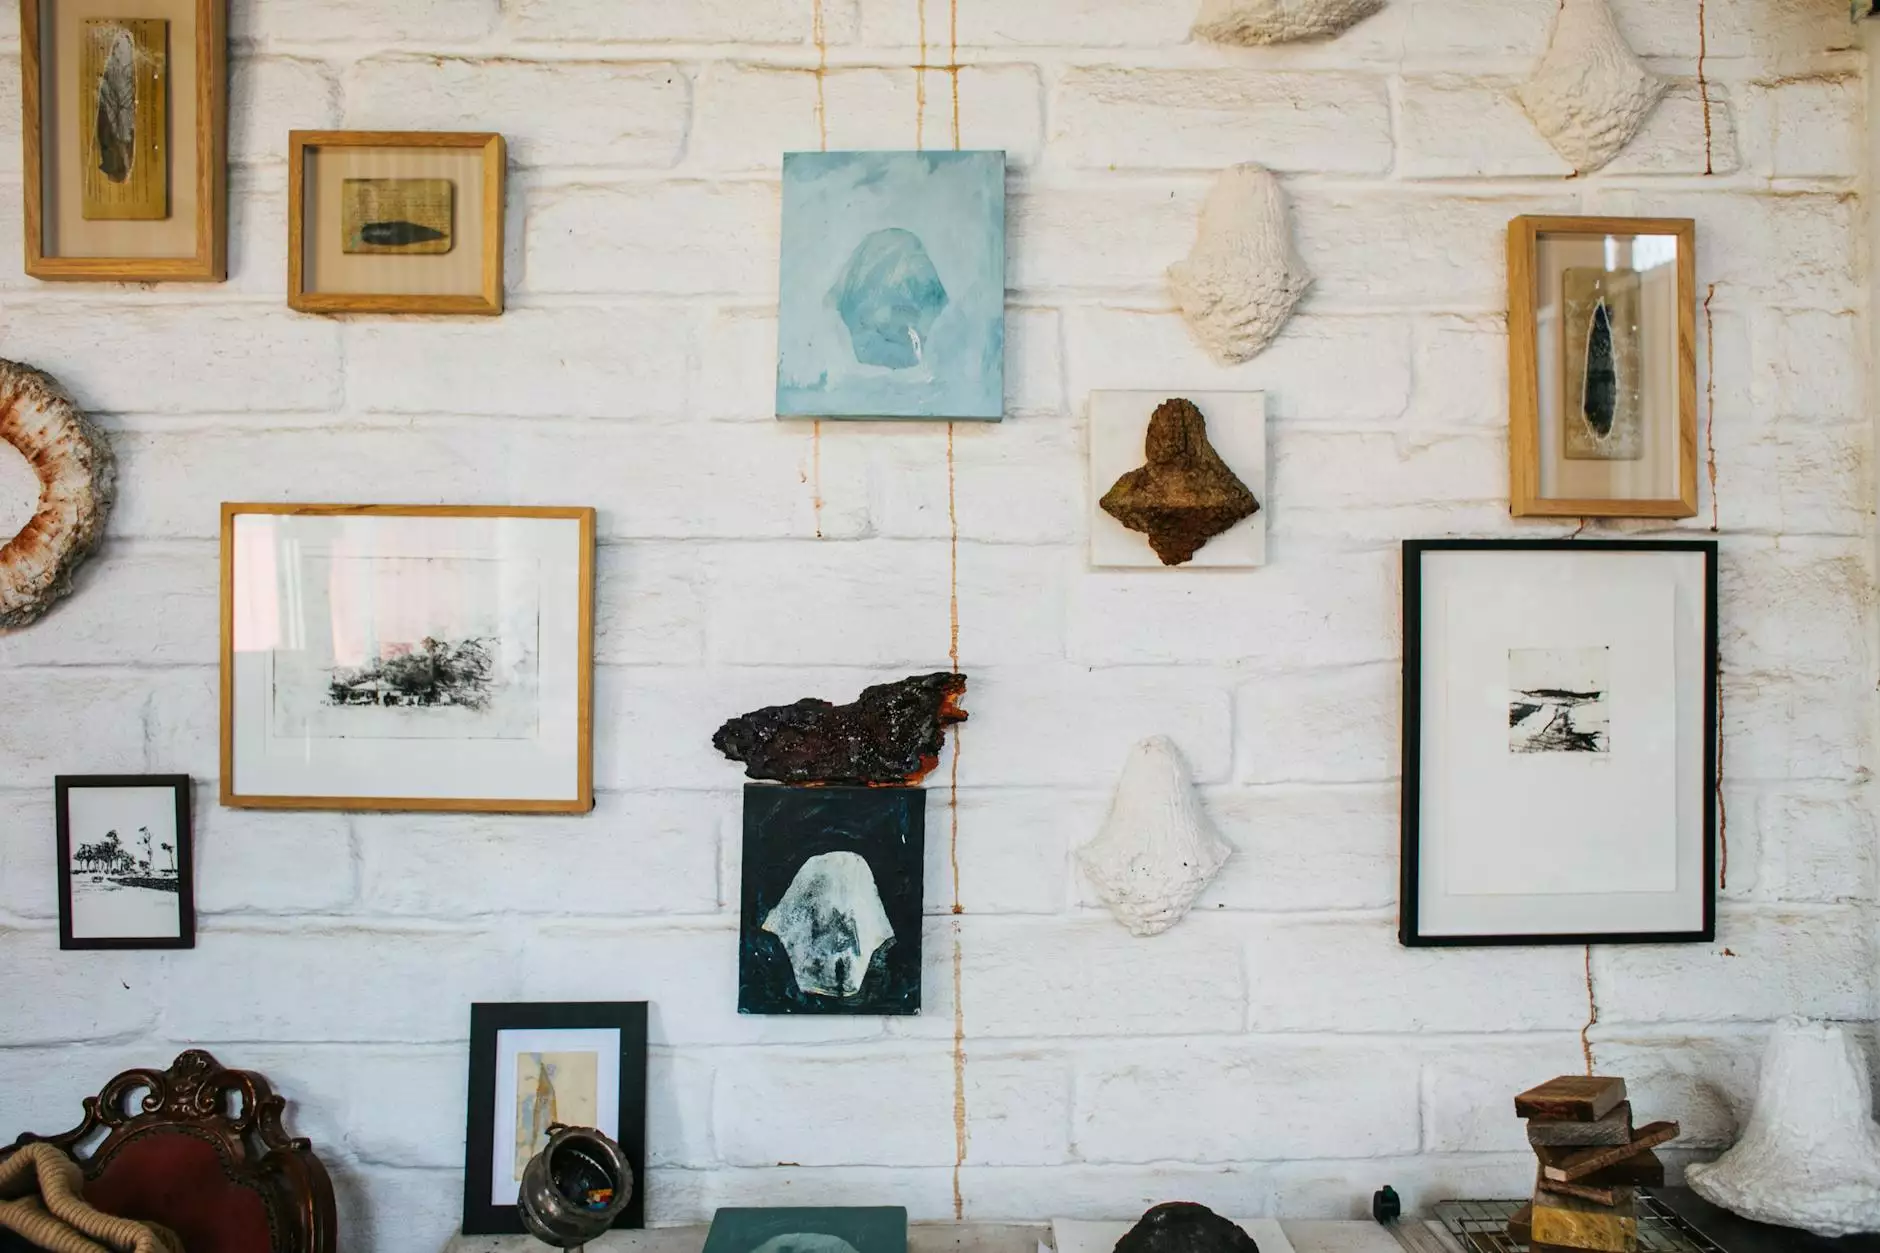
How to Hang 2 Pictures of Different Sizes Horizontally
Art
Welcome to Impact Gallery and Gifts - your go-to source for all things home decor and art-related! In this detailed guide, we will walk you through the process of hanging two pictures of different sizes horizontally, ensuring a visually stunning display that will impress anyone who enters your space.
Why Hang Pictures Horizontally?
Choosing to hang pictures horizontally can bring a sense of balance and symmetry to your wall decor. It creates a visually pleasing composition and enables you to showcase multiple artworks in a cohesive manner. By following our expert tips, you'll be able to achieve a professional-looking arrangement that adds personality and style to any room.
Gather Your Materials
Before you begin, gather the necessary materials to ensure a smooth and hassle-free hanging process. You will need:
- Two picture frames of different sizes
- Measuring tape
- Pencil
- Level
- Hammer
- Nails or picture hanging hooks
Step-By-Step Guide
Step 1: Measure and Mark
Start by measuring and marking the desired placement for your pictures. Consider factors such as the size of your wall, the furniture or objects surrounding it, and the level of visual impact you want to create. Using a measuring tape and a pencil, mark the exact spots where your pictures will be hung.
Step 2: Determine the Placement
Decide how close or far apart you want your pictures to be. A general rule of thumb is to leave around 2-3 inches of space between the frames for an aesthetically pleasing arrangement. Experiment with different spacing options to find the balance that works best for your specific artwork and wall dimensions.
Step 3: Hang the Larger Picture First
Start with the larger picture. Using a level, ensure it is perfectly straight. This step is crucial as it serves as the anchor for the entire display. Hold the picture against the wall, align it with the markings, and carefully hammer in nails or attach picture hanging hooks to secure it in place.
Step 4: Hang the Smaller Picture
Once the larger picture is securely hung, it's time to add the smaller picture. Again, use a level to ensure it is straight. Place it next to the larger picture, aligning the edges or creating an intentional overlap. Securely hang the smaller picture using nails or hooks.
Step 5: Arrange and Adjust
Stand back and assess the placement of both pictures. Pay attention to their alignment and spacing. Make any necessary adjustments to achieve the desired layout. Take your time to ensure the pictures are perfectly level and balanced. It's worth the extra effort for a polished and professional look.
Tips and Tricks
Here are some additional tips to enhance your picture hanging experience:
- Consider using picture hanging strips for a damage-free option, especially if you're concerned about making permanent holes in your walls.
- Use frames in complementary styles or colors to create a harmonious display.
- Play with different heights and angles to add dimension and visual interest.
- Measure the distance between the top of the frame and the hanging mechanism to ensure the pictures hang at the same level.
- For larger or heavier pictures, use anchor screws or wall anchors for extra stability.
By following the steps outlined in this comprehensive guide, you'll be able to confidently hang two pictures of different sizes horizontally, transforming your space into a captivating gallery. Remember to experiment, trust your creativity, and have fun with the process. Happy hanging!
Impact - eCommerce & Shopping - Marketplace - https://www.impactgalleryandgifts.com


